

Planning a wedding means juggling a lot of moving pieces — and keeping track of who’s coming is a big one. If you’re looking for a simple, no-fuss way to collect RSVPs online, Google Forms is a totally free and beginner-friendly option. With just a few clicks, you can create a custom RSVP form that works on desktop and mobile, and even link it to your Canva wedding website.
In this step-by-step tutorial, I’ll show you how to build your own Google Form RSVP — from setting up questions to styling the design.
Let’s get started!
How to Set Up a Wedding RSVP with Google Forms
Before you begin, gather a few essentials:
- A free Google account
- 10–15 minutes of your time
- A banner image for your form header (recommended size: 1600×400 px or wider)
CREATIVITE Online Wedding RSVP Page – Collect & Manage Guest Responses
Planning made easier. With your own online wedding RSVP page, you can collect guest responses, manage your guest list, and keep everything organised in one simple, intuitive dashboard.
Create an RSVP form that works for single-day or multi-day celebrations, and choose how guests can reply — with Open RSVP (anyone with the link can respond) or Invited-Only access (restricted to guests on your list).
View more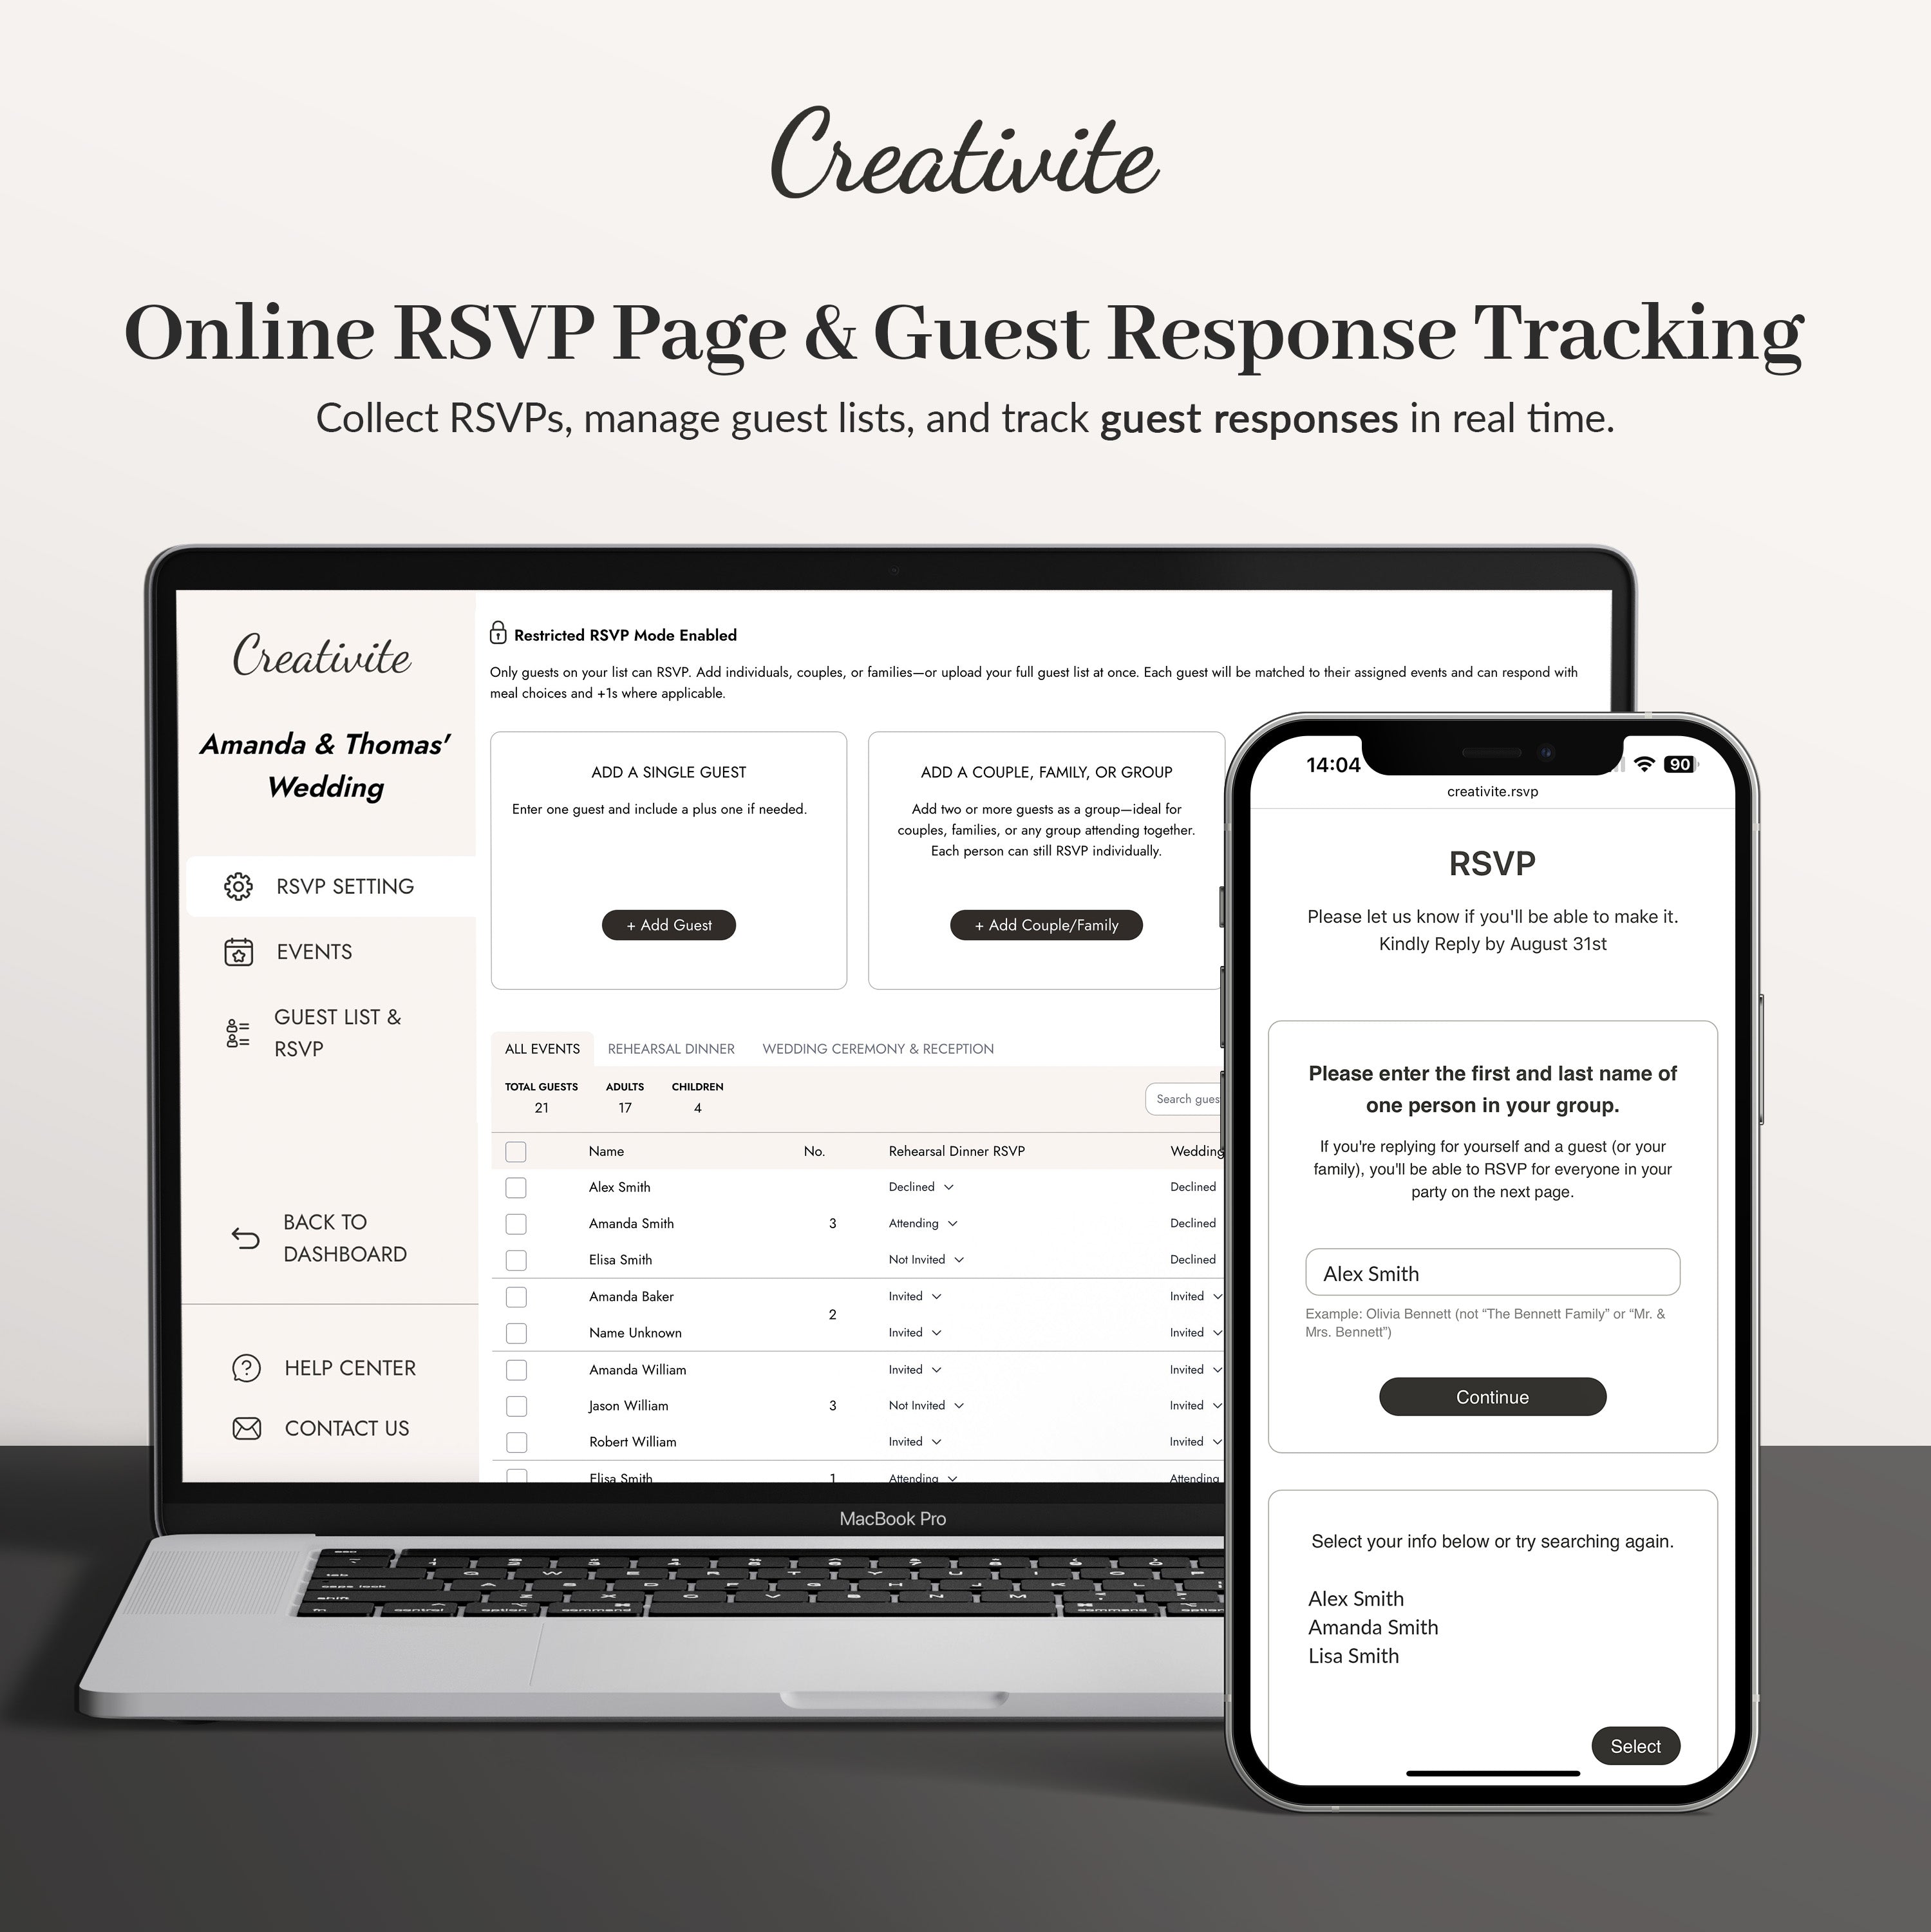
Step 1 — Create Your Blank Form
-
Go to forms.google.com.
-
Click Blank form to start fresh.
-
At the top, rename it to something like:
“[Your Names] — Wedding RSVP” -
In the description box, write:
“Please let us know if you’ll be able to make it. Kindly RSVP by [date].”
This sets the tone and ensures guests know what’s expected.
![]()
Step 2 — Add Your RSVP Questions
Now let’s build your RSVP form. Below are suggested questions to include. You can copy them exactly or tweak for your needs.
Q1: Your Name (Person Completing This RSVP) *
- Type: Short answer
- Toggle Required ON
Q2: Email Address *
- Type: Short answer
- Toggle Required ON
- Click the ⋮ (three dots) → Response validation
- Choose Text • Email address
- Add custom error text: “Please enter a valid email.”
This ensures every RSVP includes a valid email address for follow-up.
Q3: Will You Be Joining Us? *
- Type: Multiple choice
- Options:
-
Accepts with joy
-
Declines with regret
-

Q4: How Many Guests Are Attending in Total (Including Yourself)?
- Type: Short answer
- Add Response validation: Number • Greater than or equal to • 0
- Error text: “Use a number.”
Q5: Please List the Full Names of Everyone Attending in Your Party *
- Type: Paragraph
- Toggle Required ON
Q6: Please List Any Dietary Requirements (Per Person if Needed)
- Type: Paragraph
- Q7: Leave a Message for the Couple
-
Type: Paragraph
💡 Pro tip: You can add fun custom questions like “What song will get you on the dance floor?” to personalize the form.

Step 3 — Brand Your Form (Banner, Colors, Fonts)
One of the biggest drawbacks of a plain Google Form is its generic look. Thankfully, branding your form makes it feel personal and stylish.
- Edit the Canva RSVP banner included in your template with your names and wedding date.
- Download it as a JPEG (1600×400 px or wider).
- In Google Forms, click the Theme (paint palette) icon.
- Upload your Canva banner image under Header.
- Pick one of Google’s suggested palettes or manually set your theme color.
Ideas for wedding-appropriate colors:
- Gold:
#C5AD63 - Blush pink:
#F7D6E0 - Sage green:
#C9D6C5 - Ivory:
#FCF9F8
For fonts, choose Formal (serif, elegant) or Basic (clean, modern).

Step 4 — Adjust Important Settings
This is where you make your form guest-friendly and functional.
-
Click Settings (gear icon) → Responses:
-
Collect email addresses → ON
-
Response receipts → Always
-
Limit to 1 response → OFF (important so non-Google users can RSVP)
-
Allow response editing → Optional
-
-
Click Presentation → Confirmation message:
Add:
“Thank you! Your RSVP has been received. You’ll get a copy by email.” -
Click Save.
-
Turn on email notifications:
-
Go to Responses tab
-
Click the ⋮ (top-right)
-
Select Get email notifications for new responses
-
Now you’ll never miss a reply!


Step 5 — Log RSVPs in Google Sheets
For couples who want an organized guest list, this step is a lifesaver.
- Go to the Responses tab.
- Click the green Sheets icon.
- Choose “Create a new spreadsheet.”
Now every RSVP is automatically saved in a Google Sheet. You can sort, filter, or even share this sheet with your wedding planner.


Step 6 — Link the Form to Your Canva Wedding Website
Here’s where everything comes together.
- In your form, click Send → Link icon → Copy (check Shorten URL if you like).
- Open your Canva wedding website template.
- Select your RSVP button.
- Click the link (chain) icon and paste the Form URL.
- Publish your site and test the button.
Now guests can visit your beautiful wedding website and RSVP instantly.


Step 7 — Test Like a Guest
Before sending it out, always test your form:
- Submit a “Yes” RSVP and a “No” RSVP.
- Check the guest confirmation emails.
- Confirm you received notifications.
- Open your Google Sheet to make sure the responses logged correctly.
Testing ensures everything runs smoothly on the big day.
💡 Want something more polished?
If you're looking for a more seamless guest experience—custom design, mobile-optimized layout, guest restrictions, auto-confirmation emails, and more—you might love our CREATIVITE Online Wedding RSVP Page It’s everything you wish Google Forms could do, made easy.
Wait—What’s the Difference?
| Feature | Google Forms | Creativite RSVP |
|---|---|---|
| Price | Free | Low one-time fee |
| Design | Basic form styling | Elegant, wedding-ready RSVP layout |
| Guest control | Anyone with the link can RSVP | Choose between open RSVP or restricted guest list |
| Confirmation emails | Manual setup | Automated thank-you and reminder options |
| Dashboard | Google Sheets | Clean RSVP dashboard with sorting & filtering |
| Ideal for | DIY couples with time | Couples who want easy, professional, and controlled RSVPs |
Google Form Wedding RSVP Troubleshooting Tips
- Guest can’t open the form? → Make sure Limit to 1 response is OFF.
- Didn’t receive notifications? → Double-check “Get email notifications for new responses” is enabled.
- Banner crops oddly? → Use a wider image and keep text centered.
You’re Done!
Congratulations—you’ve just created a fully functional, customized Google Forms wedding RSVP and linked it to your Canva wedding website. Now, instead of chasing guests for answers, you can sit back and watch the RSVPs roll into your spreadsheet.
By combining the simplicity of a wedding RSVP Google Form with the elegance of a Canva wedding website, you get the best of both worlds: professional design and easy guest management.


