Thank you for choosing one of our Canva wedding website templates! These instructions will guide you through editing, publishing, and linking your RSVP form.
Disclaimer: This page contains instructions only.
👉 The links to copy your wedding website template and RSVP banner are included in the PDF download that comes with your purchase. Please use that file to access your design.
Before You Start
-
You’ll need a free Canva account.
-
If you’re new to Canva websites, we recommend reading Canva’s own guide: How to Make a Website in Canva.
-
Have your photos, wedding details ready.
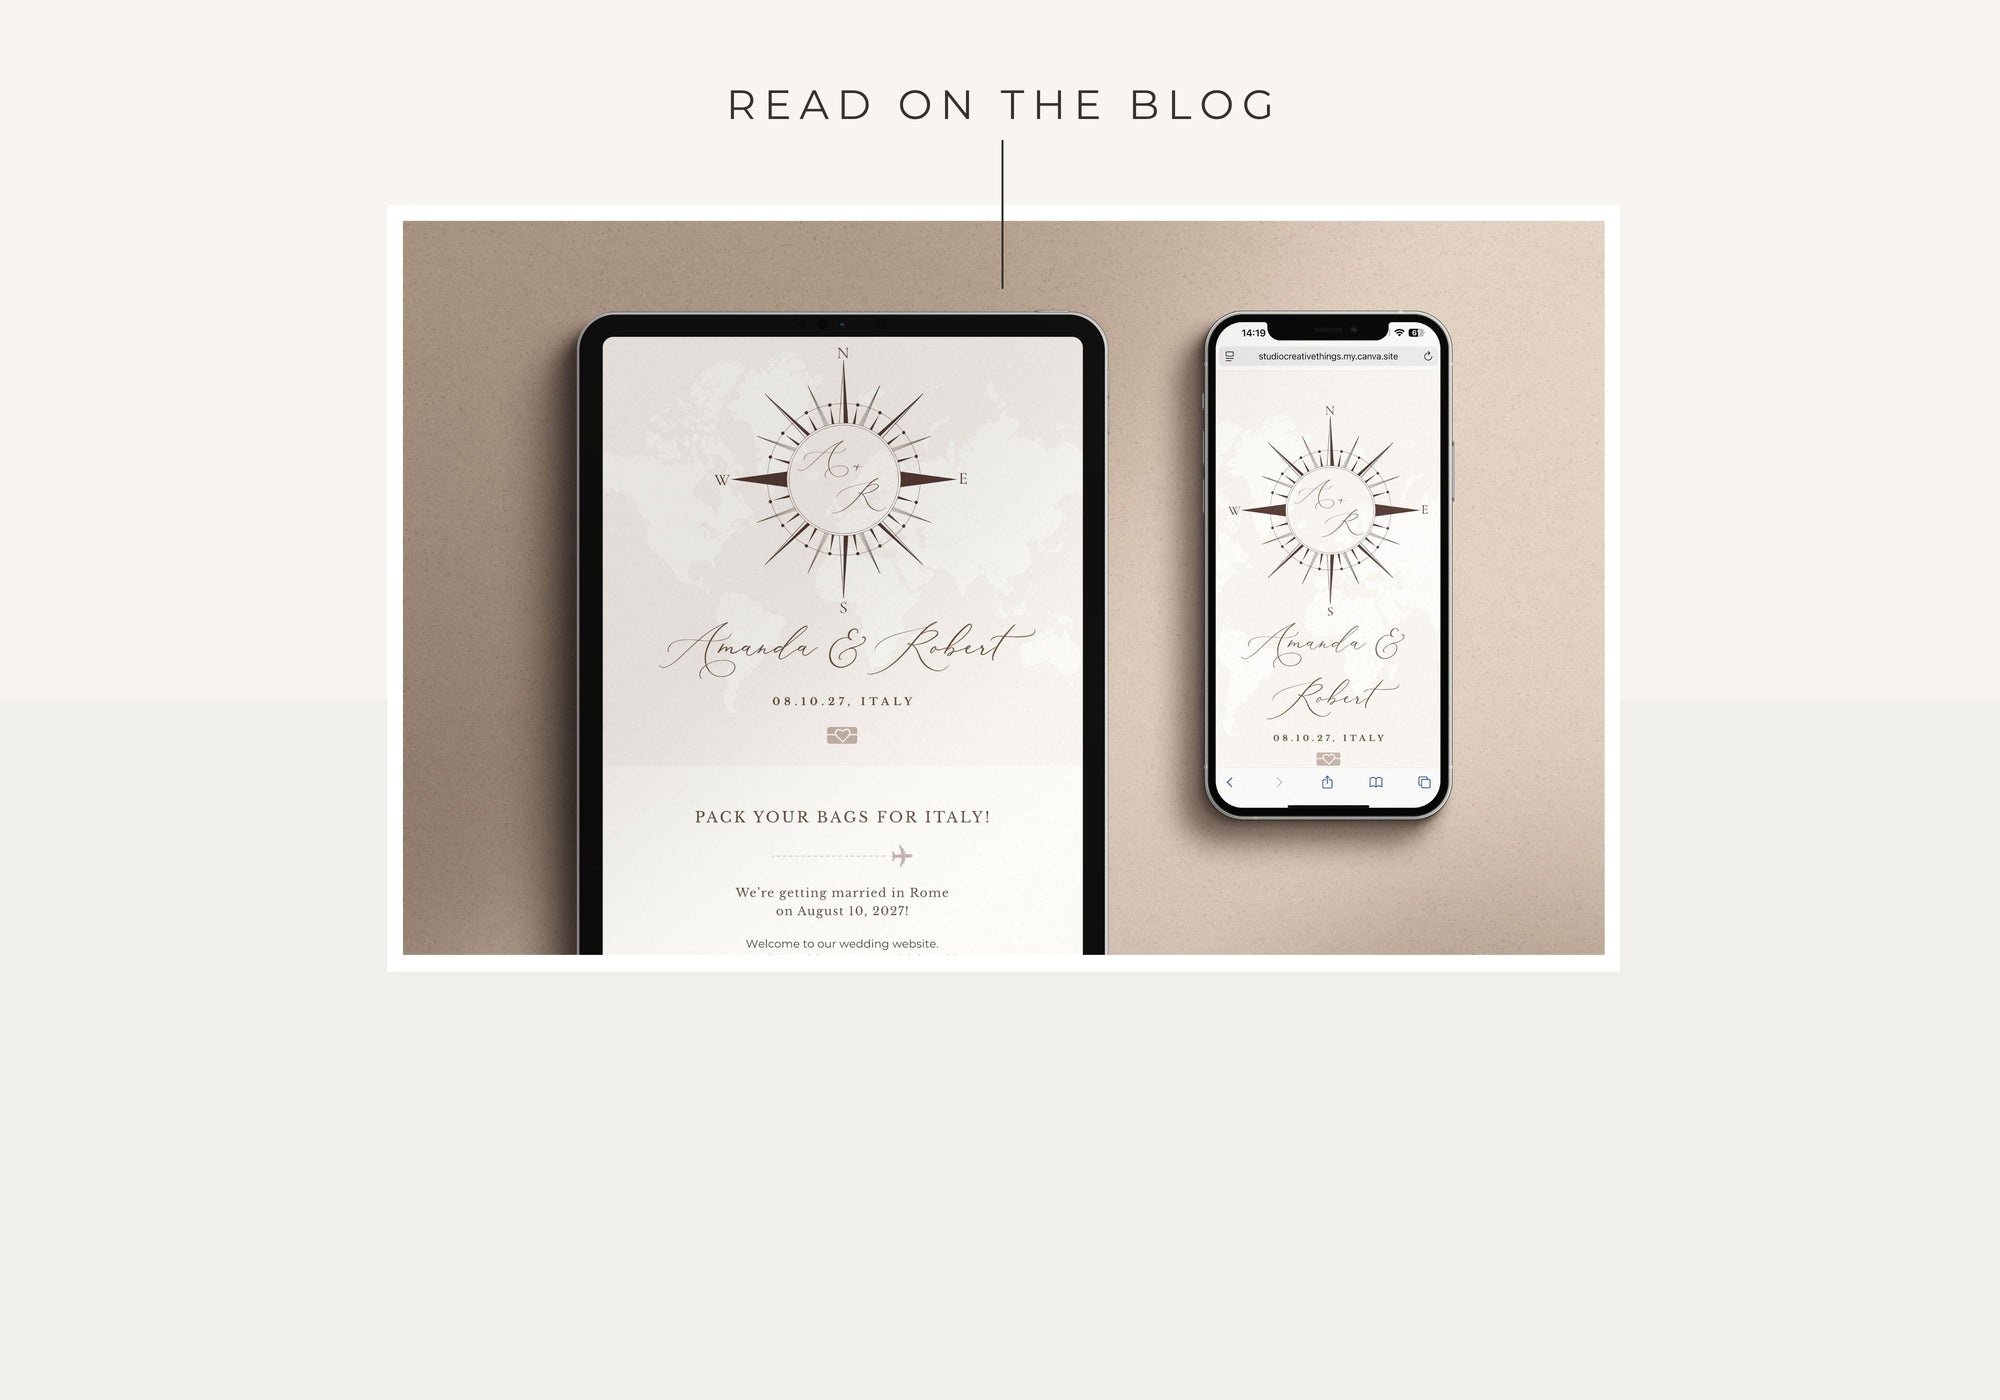
Editing Your Template
Our templates are already optimized for both desktop and mobile.
⚠️ Please do not move or rearrange sections.
- Canva can struggle with responsive layouts, and moving parts around may cause issues in the mobile version.
- We’ve carefully designed and tested the template to display correctly across devices.
✅ Make sure “Resize on Mobile” is turned ON
- Before publishing, go to Preview → Settings → Resize on Mobile and ensure it’s enabled.
- This makes sure your layout automatically adjusts for smaller screens like phones and tablets.
- Always check your website in Preview → Mobile view to confirm everything looks right.
You can safely edit:
- Text (names, dates, details)
- Colors and fonts
- Photos and background images

Setting Up Your Domain in Canva
When publishing your website, Canva will ask you to choose a domain:
-
Free Canva URL
- Ends in
.my.canva.site(e.g.amanda-thomas.my.canva.site).- ⚠️ Once you choose your Canva domain, you cannot change it. Canva only allows one URL per account for all websites.
👉 Example: If you set up
amanda-thomas.my.canva.site, every other site you publish from the same Canva account will use that same domain base. -
Custom Domain
- If you own your own domain (e.g.
www.amandaandthomas.com), you can connect it to Canva. - Full instructions from Canva: Publishing websites to your own domain.
💡 Workaround Tip: Want more than one Canva website with different URLs? Simply use another Canva account (you can share the template link into that account) and you’ll get a fresh domain each time.

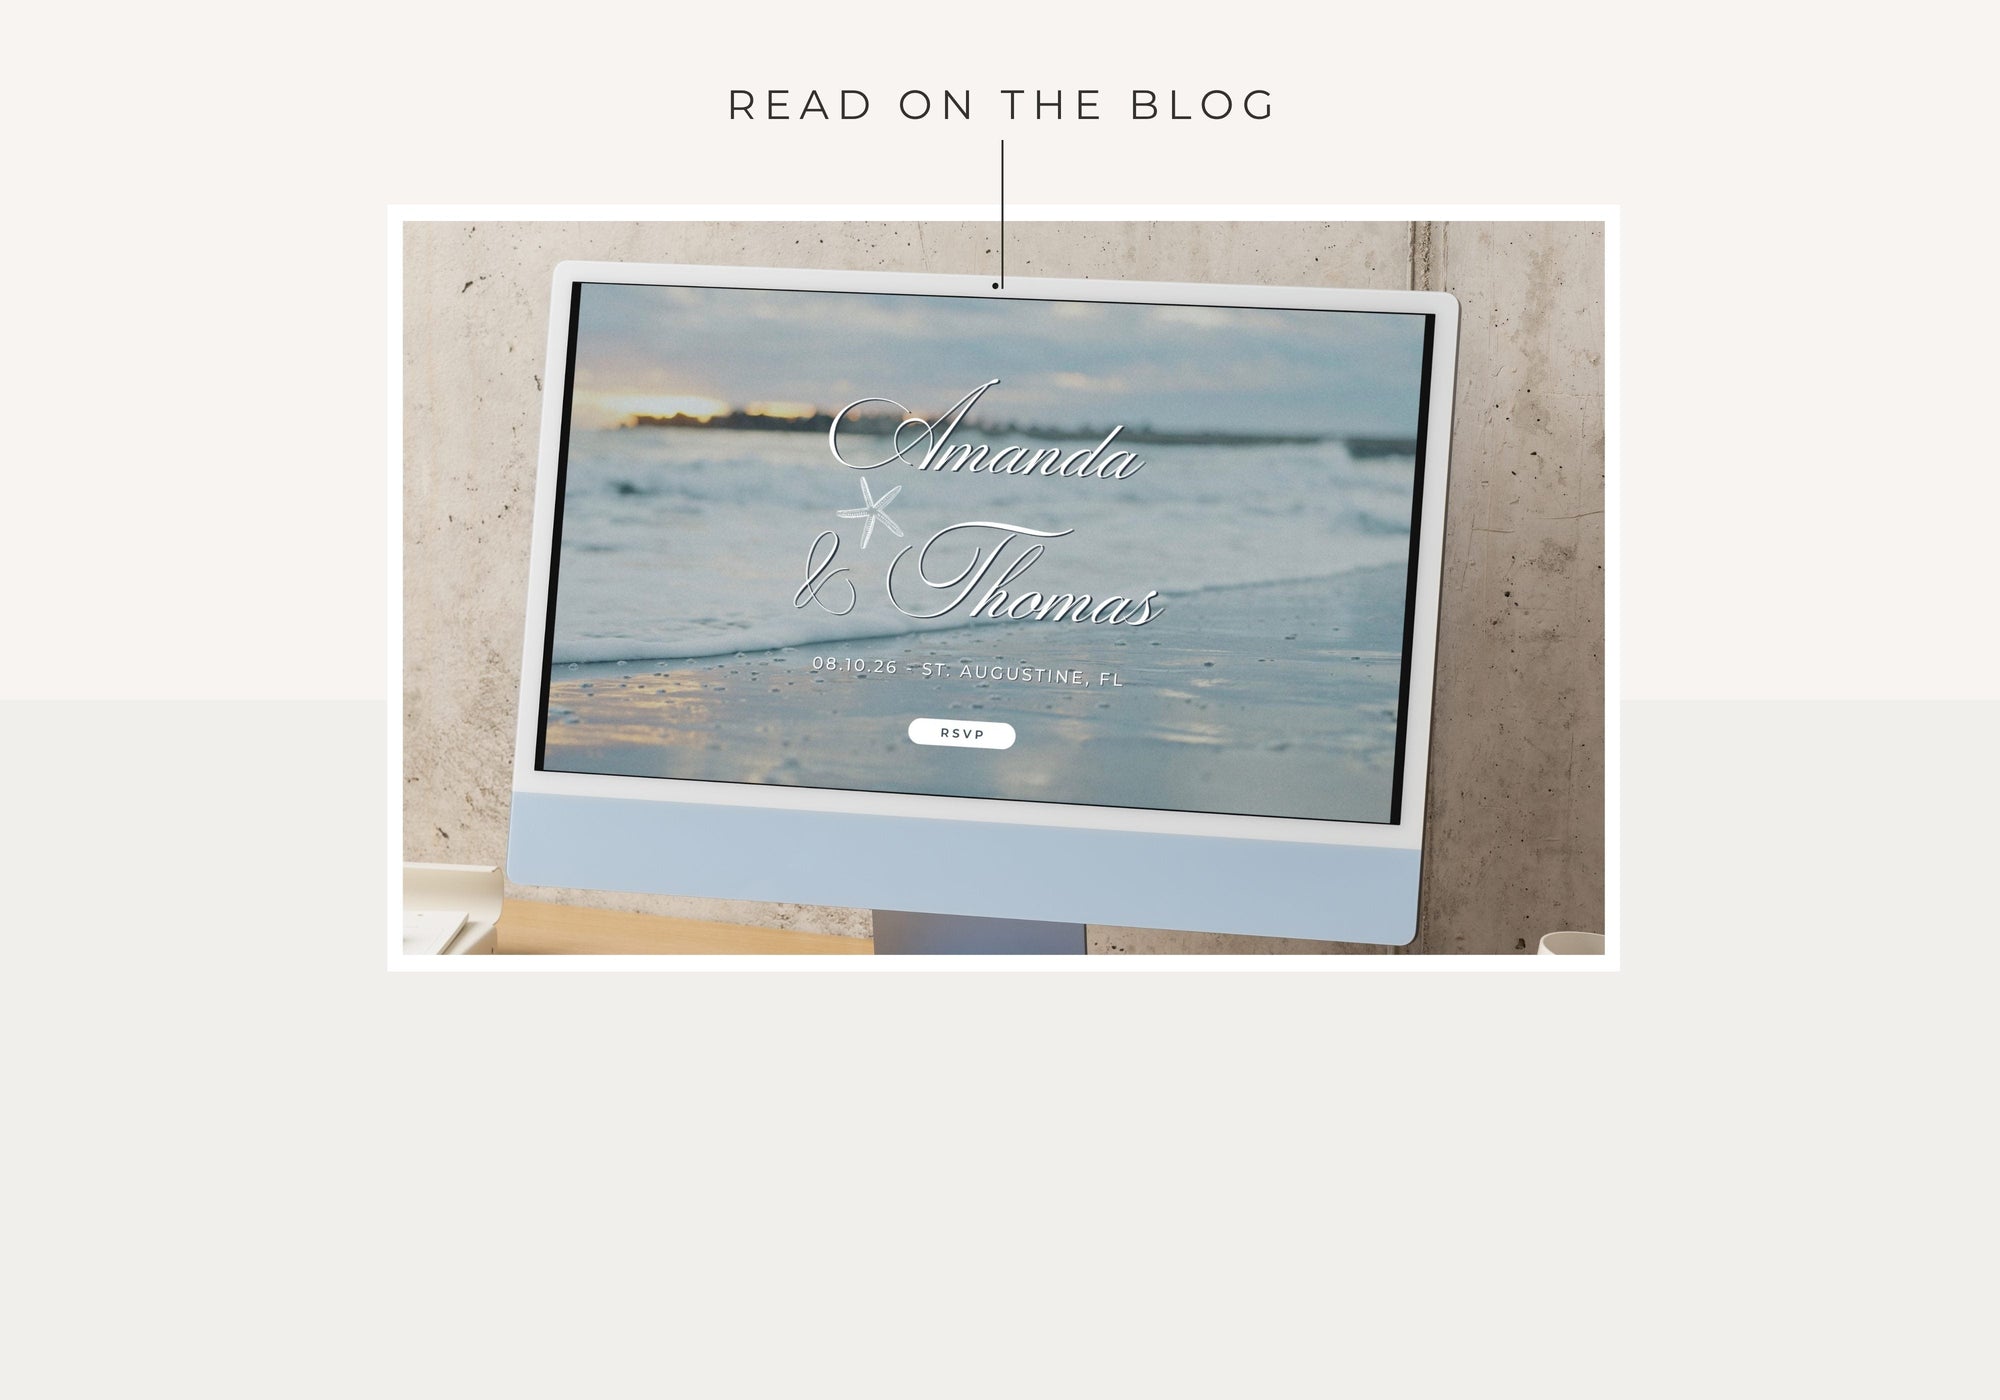
Publishing Your Website
-
In Canva, go to Share → More → Website → Publish Website.
-
Enter your chosen domain (free Canva URL or your custom domain).
-
Add a Site Title and Favicon (the small icon in browser tabs).
-
Click Publish. You can make changes anytime: click Edit Design → update → Republish. Your site will update instantly.

How to Set Up Your Creativite RSVP Page and Form
With your Canva wedding website template, you also receive Creativite RSVP — our online RSVP page and guest tracking service that connects seamlessly with your website.
You’ll receive an email within 24 hours from Creativite containing your personal link to activate your RSVP page.
Follow the instructions in that email to set up your account and start collecting guest responses.
1. Activate Your Account
Click the activation link in your email to access your Creativite account and log in.
2. Open Your Order
From your dashboard, click Open Order to begin setting up your event and RSVP page.
3. Create Your Event
Next, open the Events tab and click Add Event.
Here you can add:
-
Event name, date, and location
-
Attire suggestions or notes to guests
Click Save — your event will automatically connect to your RSVP page.
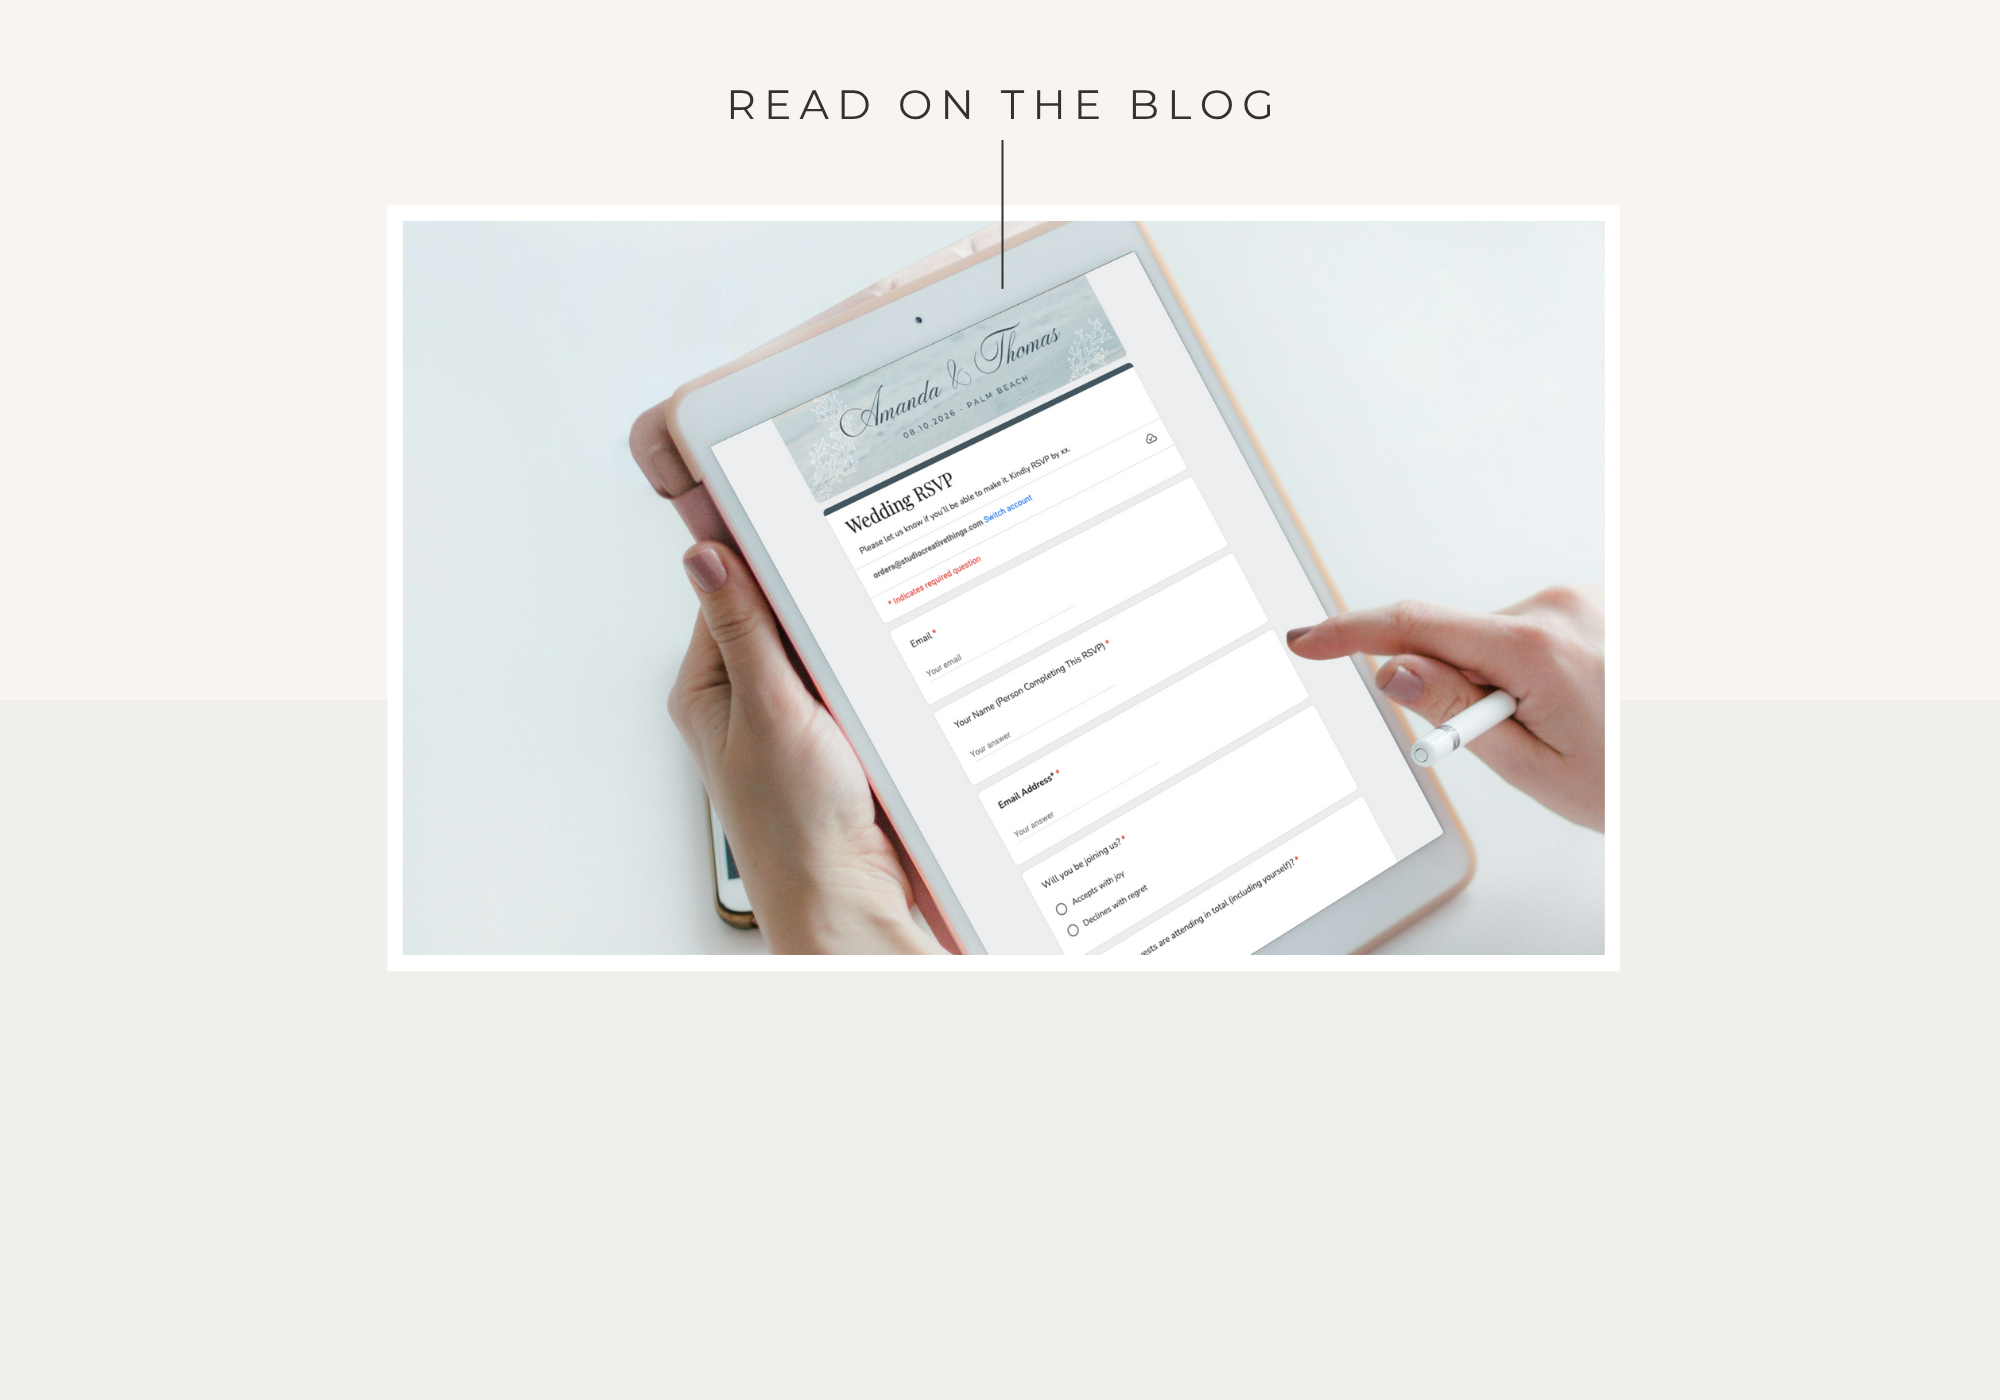
4. Set Up Your RSVP Page
After your event is created, go to the RSVP Page tab to customize your reply form.
This is where your guests will submit their responses.
5. Restricted RSVP (optional)
If you selected “Restricted to Guest List” when purchasing, go to the Guest List tab and add your guest names before sharing your link.
6. Copy Your RSVP Link
Once your page is ready, copy your RSVP link.
This is the URL you’ll paste into your Canva wedding website’s RSVP button and card so guests can easily reply online.
For more detailed setup instructions, troubleshooting tips, and FAQs, visit the official support center:
👉 Creativite Help & FAQ
💡 Tip: Once your RSVP page is published, test it yourself before sharing with guests to ensure everything looks perfect and functions smoothly on both desktop and mobile.
Linking the RSVP Page to Your Canva Website
Copy the RSVP link from Creativite and add it to your RSVP button or image in Canva:
-
-
Select the button or image.
-
Click the link icon in the toolbar.
-
Paste your RSVP page link.
-
Test in Preview mode to ensure it works.
-
⚠️ Note about underlined text:
When you link a button that contains text, Canva will automatically underline the text. If you don’t want the underline:
- Select the text inside the button.
- Click Underline in the toolbar to toggle it off.

Troubleshooting & Support
If you have problems editing your template:
-
Email us at orders@studiocreativethings.com
-
Share your Canva template with this email (give editing access).
-
We’ll review your file and help resolve the issue.
✅ Once published, your wedding website is live and ready to share with guests.
This is how you can share the template with us, and we will review any issue.